10 Tips for Working with Air-Dried Clay: Techniques and Tricks
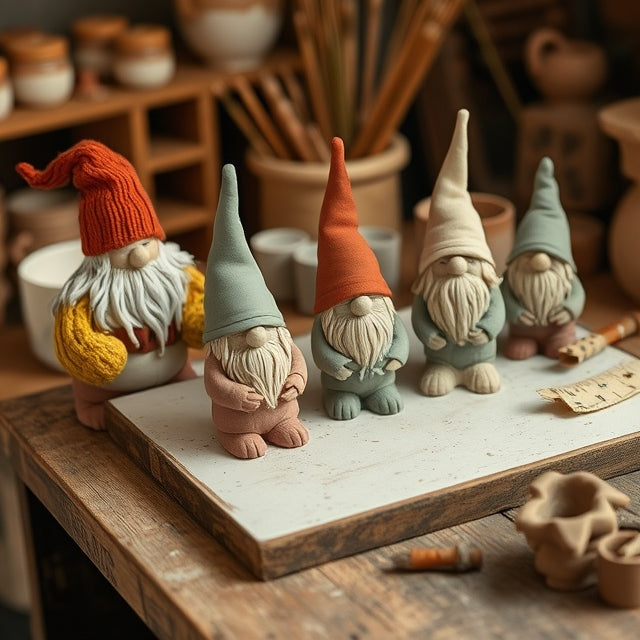
Working with air-dried clay can be a delightful and rewarding experience, especially when crafting charming creations like gnomes. Whether you’re a beginner or have some experience, these tips will help you make the most out of your clay projects and achieve stunning results.
1. Choose the Right Clay
Not all air-dried clays are created equal. Some are more suited for detailed work, while others are better for larger projects. Look for clay that suits your specific needs—whether it’s lightweight, strong, or easy to mold.
2. Keep Your Hands Moist
Air-dried clay can dry out quickly, making it harder to work with. Keep a small bowl of water nearby and occasionally moisten your hands and tools. This will help maintain the clay's flexibility and prevent cracking.
3. Use Proper Tools
Invest in some basic tools to help you shape and detail your clay. Sculpting tools, a rolling pin, and even household items like toothpicks can help create intricate designs and textures.
4. Work in Sections
If you’re crafting a larger piece, like a gnome, work in sections rather than all at once. This approach allows you to focus on details without worrying about the clay drying out before you finish.
5. Armature Support
For larger creations, consider using an armature—a support structure made from materials like wire or foil. This will help your piece maintain its shape and reduce the risk of collapsing as it dries.
6. Keep Your Workspace Organized
A clutter-free workspace makes the crafting process smoother. Organize your tools, materials, and any reference images to streamline your workflow and keep distractions at bay.
7. Experiment with Textures
Air-dried clay is perfect for creating unique textures. Use stamps, fabric, or natural materials like leaves and stones to add interesting patterns to your gnomes or other creations.
8. Drying Time Matters
Be mindful of the drying time. Allow your creations to dry completely according to the manufacturer’s instructions. Rushing this step can lead to cracks or weak spots in your finished piece.
9. Finishing Touches
Once your piece is dry, you can sand it lightly for a smoother finish or use a sealant to protect your work. Painting your creations can add a pop of color and personality—acrylic paints work well with air-dried clay!
10. Embrace Imperfection
Finally, remember that crafting is about creativity and expression. Don’t worry about making everything perfect. Embrace the quirks and uniqueness of each piece you create; it’s what makes your work special!
With these tips in mind, you’re ready to dive into the world of air-dried clay crafting. Whether you’re creating whimsical gnomes or other charming figures, enjoy the process and let your creativity shine. Happy crafting!