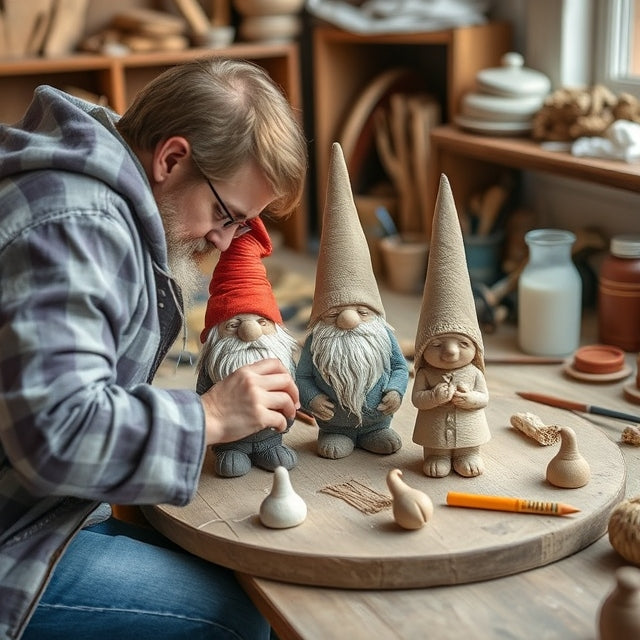
How to Craft Your Own Charming Gnomes with Air-Dried Clay
Welcome to the GnomeNGarden blog!
Today, we're diving into the whimsical world of crafting your very own gnomes using air-dried clay. These delightful little creatures can add charm and personality to any garden, and best of all, they're easy to make at home!
What You'll Need:
- Air-Dried Clay: Choose a good quality air-dried clay that’s easy to mold.
- Tools: A craft knife, sculpting tools (like a small rolling pin, ball tools, and texture stamps), and a paintbrush.
- Paint: Acrylic paints work best for bright colors and details.
- Sealer: A clear acrylic sealer to protect your finished gnome.
- Optional: Accessories like beads, small stones, or fabric scraps for extra decoration.
Step-by-Step Instructions:
1. Prepare Your Workspace: Set up a clean, flat surface for your crafting. Cover it with a protective layer (like newspaper or a plastic sheet) to keep it tidy.
2. Shape the Body: Start by taking a chunk of air-dried clay and rolling it into a ball. This will be the body of your gnome. Gently elongate one side to form a tapered shape for the gnome's bottom.
3. Create the Head: Roll a smaller piece of clay into a ball for the head. Attach it to the top of the body by gently pressing and blending the seams with your fingers.
4. Add Features: Use sculpting tools to create facial features like eyes, a nose, and a beard. For the beard, you can roll out small pieces of clay and add texture with a brush or tool to give it a more realistic look.
5. Make the Hat: Roll out a cone shape for the hat and place it on top of the head. Feel free to get creative with the hat's design—add folds, patterns, or even little embellishments!
6. Let It Dry: Once you’re happy with your gnome, let it dry according to the clay package instructions. This usually takes 24-48 hours, depending on the thickness of your gnome.
7. Paint Your Creation: Once dry, it’s time to paint! Use acrylic paints to bring your gnome to life. Choose vibrant colors for the hat and body, and don’t forget to add details like rosy cheeks or patterns on the clothing.
8. Seal the Gnome: After the paint has dried, apply a clear acrylic sealer to protect your gnome from the elements, especially if it will be displayed outdoors.
9. Display Your Gnome: Find the perfect spot in your garden to showcase your new creation! Consider creating a whimsical display with other handcrafted items to enhance the magical atmosphere.
Tips for Success:
- Experiment with Textures: Use different tools to create unique textures on your gnome’s clothing or accessories.
- Mix Colors: Don’t be afraid to blend paints to create custom colors that suit your style.
- Have Fun: The most important part of crafting is to enjoy the process. Let your creativity shine!
Final Thoughts:
Handcrafted gnomes are a fantastic way to add a personal touch to your garden. Each one tells a story and reflects your unique style. We hope this guide inspires you to get creative and bring some magic to your outdoor space!
Don’t forget to share your creations with us on social media by tagging @gnome.n.garden.official - Happy crafting!
